Enjoy my sleep deprived fever comic.

Oh hey guys whats up, want to see this awful thing I made? So like any true American, when I hear the words home improvement, I of course think of Al Borland and Tim "The Toolman" Taylor. So I decided to make a shitty sculpture in Al's honor. Below is my model that I totally followed


Oh hey labs, this is an on time garbage post brought to you by Binford tools.
If I was a sculptor, but then again no, I would have made a good sculpture in the theme of Home Improvement. Instead you get this thing.
I decided to use Sculpey, which is an easily obtainable and usable polymer clay that cures in the oven.
My idea was to sculpt a hammer out of sculpey, and then cure it, and then cover it with plaid in the style of Al Borland, the real toolman from Home Improvement.

Sculpey works best when it is uniform thickness and relatively thin, so the manufacturers suggest creating a core to model off of. I used aluminum foil and modeled the body of the hammer.


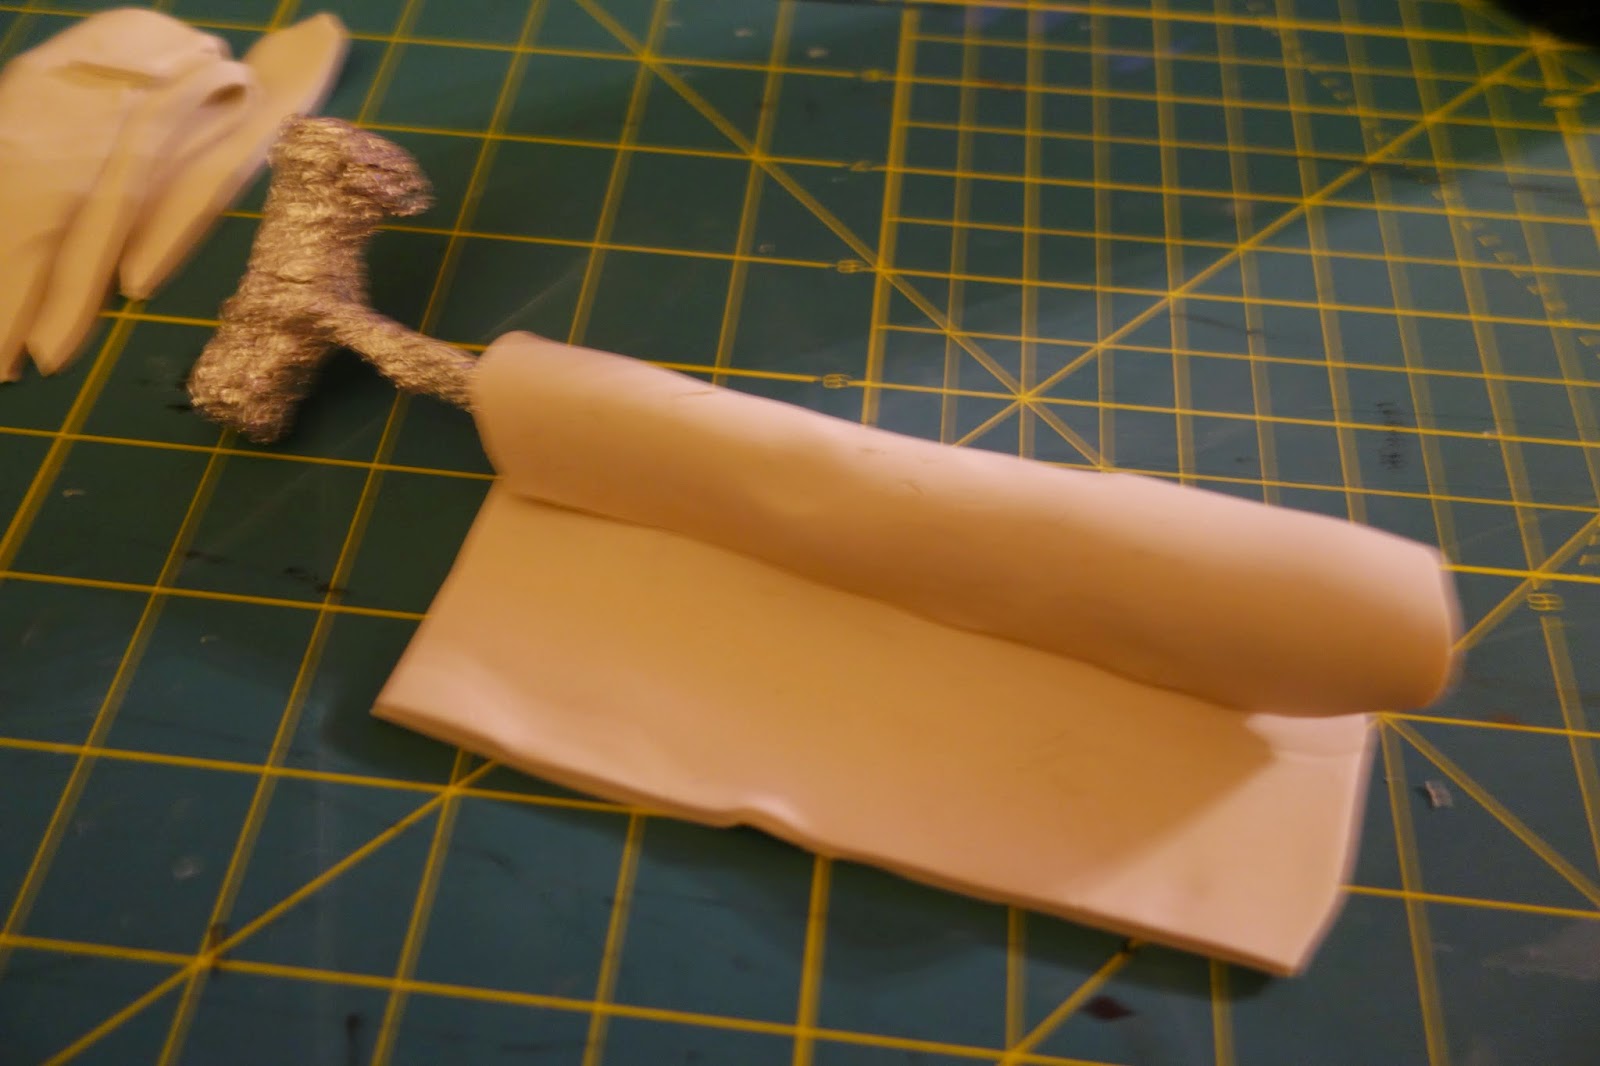
I kneaded and rolled out the sculpey onto a flat surface using a wine bottle (class folks, class) and then wrapped my core with it.

Trim the edges to ensure you can wrap your hammerhead.


Cure that hammer in the oven, follow the instructions on the packet, 15 minutes at 250 degrees for every quarter inch of sculpey. I did 20 minutes total, flipped the hammer 10 minutes in.

I took a small piece of scrap wood for the base, and took the cloth from a scrap shirt that I don't wear anymore. (Tips: Make sure you use a wood smaller than your torso for sizing purposes)

So Michaels suggested that school glue be used in pretty much every project, so I said Yeah sure Michaels worker, you are totally not 16 and don't give a shit about me or anything in the world, I'll use this runny bullshit on everything, thanks so much, no I don't want to frame anything. So I made a giant toaster strudel of glue and wood, take that Michaels.

Why am I even writing the steps here? You aren't going to do this at home. Why would you, this is a dumb idea. Look at the pictures, you're smart, just wing it like I did, and hope it doesn't look like shit, like mine does (Spoilers, it looks like shit)


Look at this little hammer, he's so cute. How did it turn into the final product that looks so bad? Answer: school glue.


School glue makes everything sticky especially your hands, but especially everything. So when you go to move stuff around it's going to stick to your project and your hands, so it's a bad idea in general. I don't know. At least I finished this one on time.
Hey guys, so you watched Mike's video, you got excited (why would you though?) And now here I am posting this thing like 73 hours late because what's a Kwanzaa. I don't know. According to Wikipedia less than 2% of Americans do Kwanzaa, that seems like not a lot.
Anyway, here's this game I made. It's called Viking Sea because it's about Vikings at sea. Great.
I admittedly didn't screenshot any of the art I was working on, but here I am recreating the art I was doing

look at the time stamp it's so authentic.
I based the map off of an old sea chart that I found online. The art I made for this game had me using a lot of reference images and autodesk to try to make it more stylized to the game. I don't know if it worked.
The basic concept of the game is that you're a leader of one of four Viking clans and you need to go out and trade in order to survive. You take your longship and crew to the sea and go on a series of adventures encountering various challenges through an adventure deck that are resolved through the expenditure of time and resources.

Cards from the adventure deck
As with real life opportunity, the best belong to those in the front, so the four ships are vying to be in the front and be the flagship. The flagship has increased risk and rewards, they get to draw the adventure cards, and are first to experience the cards for better or worse. They might get the chance at looting an abandoned ship, or they might be the first to face off against a band of pirates. Every opportunity you get a chance to take you need to expend some of your time, which can lead to you losing your vaunted position as flagship.
Part of this game involves everyone building their ship at the beginning of the game through a mad grab for upside down tiles that are revealed and placed onto your ship's grid. Each tile has a different purpose and are all valuable on your journey.

FUCKING HAY EVERY TIME
Their placement is important too, and the 1-20 matters, in negative outcomes of the adventure deck, a d20 will be rolled and you will take corresponding damage to your ship in that square.

Oh no my ship is all dinged up
The gameplay takes place between two boards. The playmat that is the map, and each player's individual ship. Each player is represented by a Game of Thrones Board Game boat on the sea map.

I secretly hope Kwon recognizes these boats because he is such a mystery.
Here are some pics of me putting this thing together. I had to go to Kinko's to print at 1150 at night because why not right.

I used these Michael's Canvas boards for the back, which I painted black with acrylic paint


holy shit i painted that stupid sodaplane

I trimmed down these dudes with a rotary, which is like a super sharp pizza cutter for paper, it is a nerve wracking tool to use

oh look shields and tiles to be cut out awesome.

I wanted everything to look old so I made up some Earl Grey

Blotted all over those fools


Important is to dry these guys out, I placed paper towels in between the sheets and then stacked some text books on top. It was like making paper lasagna.


When they were dry I used a glue stick (side note, I am 26 and I still get glue all over my fingers when I use a glue stick) to adhere them to the boards and then returned them to pressure like before.
I guess that's it, I am pretty happy with how it came out, but I haven't played it or tried to break it yet. There is still some shit that needs to be done and hopefully I don't lose points for it being nearly 2 hours late.
I really don't want to play this with you guys, I put a lot of work into it and you guys are garbage people and I am sensitive and have feelings and fuck you.

